Cart
Your shopping cart is empty!
It's never too late to fix it :)

Key takeaways
A net that sags in the middle or pulls a post inward changes the ball’s rebound and makes warm-up drills frustrating. Learning how to assemble table tennis net equipment properly takes only a few minutes, but it is one of those basic setup jobs that separates a reliable playing table from a recreational compromise. Whether you are preparing a home table, a club court, or a match-ready setup, the goal is the same: a straight net, stable posts, correct height, and even tension.
Most table tennis nets use a post-and-clamp assembly. The posts attach to each side of the table at the center line, and the net spans between them. The critical differences are in the mounting mechanism and tension adjustment.
For serious practice or league play, a screw-clamp or high-quality spring-clip system usually provides the most consistent tension. Retractable sets are convenient, especially when a full-size table is unavailable, but they rarely deliver the straightness and stability expected for advanced multiball work or competitive matches.
Start with a clean table edge. Wipe away dust, ball fragments, or dried adhesive near the center line, particularly if the table has been stored folded. A clamp needs direct contact with the table apron or underside to remain stable.
Locate the center mark on one side of the table. On a standard 9 x 5-foot table, the net runs across the 5-foot width and divides the two 4.5-foot halves. Set the first post directly at this midpoint, with the clamp body outside the playing surface.
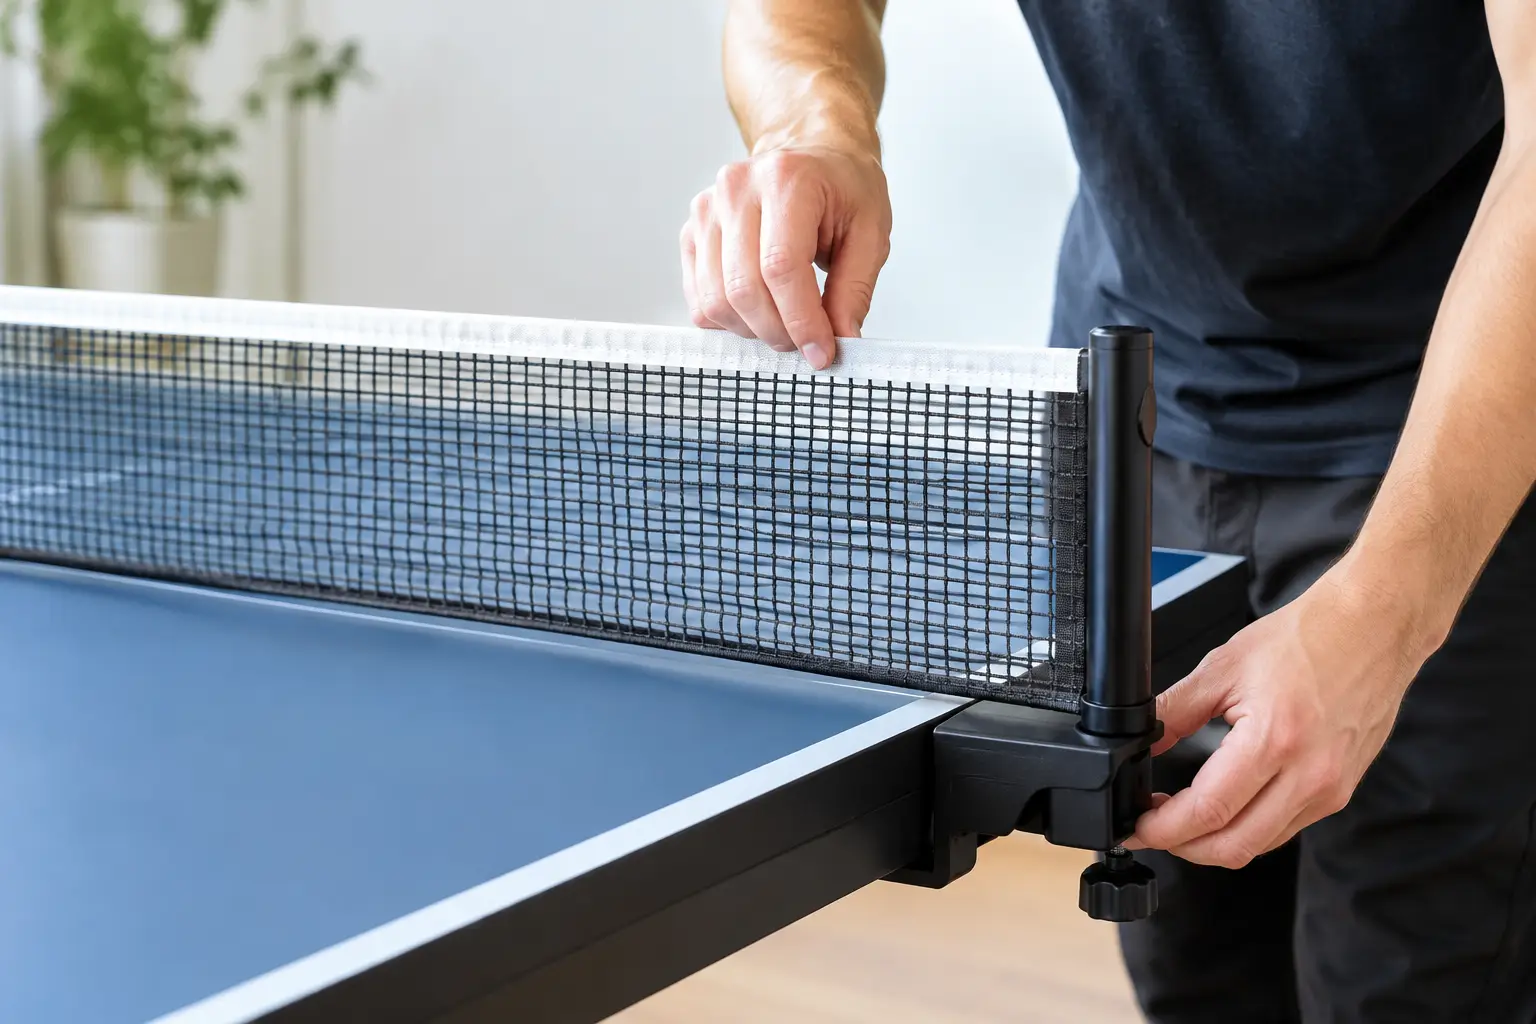
For a screw-clamp model, open the clamp wide enough to fit over the table edge. Slide it into position, then turn the adjustment screw until the post is firm. Tighten until it does not move when lightly pressed - no further. Excess force can compress a wood-composite apron, damage a painted edge, or strip the screw mechanism over time.
With a spring-clip net, squeeze or lift the release lever, place the clip over the edge, and let it close fully. Check that both contact pads are flat against the table. If the post sits at an angle, remove it and reseat it rather than trying to pull it straight with net tension.
Fit the second post on the opposite center line. Before attaching the net, look across the table from one post to the other. The posts should be vertical and aligned. A post mounted even slightly forward or backward can make the net appear diagonal and create uneven tension.
This is particularly relevant on tables with thick side rails, unusually wide aprons, or a rounded edge profile. Some clamps have an adjustable lower pad designed for different table thicknesses. Set that pad first so the clamp grips squarely.
A traditional net usually has a cord, string, or reinforced top tape running through its upper edge. Feed this cord through the guide or hook at the top of the first post, then across to the second post. Depending on the design, the end may attach to a hook, loop around a tension wheel, or fasten to a small chain.
Do not pull the net tight immediately. First, make sure the top tape is not twisted and the mesh hangs naturally. A twisted top tape creates uneven pull and can cause one side of the net to sit higher than the other.
Some high-performance assemblies use a net with integrated end loops that slide over post caps. Others use a removable cord and a separate tension chain. If your net includes a chain, it is not spare hardware - it is the fine-tuning adjustment that lets you set the correct height.
The official height of a table tennis net is 6 inches, or 15.25 cm, measured from the playing surface to the top of the net. The net should remain at that height across the entire table width, not just at the posts.
The fastest way to check is with a net gauge. Place it under the center of the net and adjust the chain, cord, or tension dial until the top tape rests at the 15.25 cm mark. If you do not have a gauge, use a ruler as a practical alternative, although a dedicated gauge is faster and more repeatable for club setups.
A common mistake is adjusting height only at the post. A net may read correctly at the outer edge but sag 0.4 to 0.8 inches in the middle. That changes net-ball behavior and is especially noticeable during short-game training, where fine margins matter.
Once the height is correct, increase tension gradually until the net is straight without being over-pulled. The top tape should form a clean horizontal line. It should not droop at the center, but it also should not bow the posts inward.
The right tension depends on the net material and post construction. A thick cotton-style net may need slightly more tension than a lightweight synthetic mesh. Premium competition nets often use a reinforced top tape that stays straight with less pulling force. If the posts flex toward the table, back off the tension and confirm the clamps are installed correctly.
The bottom of the net should hang close to the table without dragging on the surface. If it is caught under a clamp or folded behind a post, the mesh will pull unevenly. Smooth it with your hand before the final check.
For a competition-style setup, the net assembly extends beyond each sideline, with the posts positioned outside the playing area. The important practical point is that the net covers the full table width cleanly and does not leave a gap near either edge where a ball could pass through.
Use a ball rather than your eyes alone. Roll or lightly tap a ball into several areas of the net: near each post and at the center. The response should feel consistent. A center section that absorbs the ball with no rebound is usually too loose; a net that feels hard and sharply deflects the ball may be over-tensioned.
Also press each post gently from side to side. There should be no shifting at the clamp. If the assembly moves, remove the tension first, then reset the clamp. Tightening a moving post while the net is under full tension can place unnecessary stress on the hardware.
Use these figures as a fast pre-session reference:
If the net sags in the middle, first inspect the top cord. It may be loose, incorrectly hooked, or caught in a post guide. Raise the tension in small increments and recheck the center height after every adjustment.
If one post keeps leaning inward, the issue is usually clamp position rather than net tension. Loosen the assembly, make sure the clamp pads contact flat surfaces, and reinstall it squarely. On a table with a very thick apron, confirm that the net system is rated for that thickness.
If the net is too high at the sides but low in the middle, the top cord is likely overtightened while the center mesh has stretched or the net is not seated correctly. Release tension, straighten the tape, and start again. A worn net with permanently stretched mesh may need replacement rather than endless adjustment.
For retractable nets, weak tension often means the internal spring is worn or the net is being stretched beyond its intended span. These units are excellent for quick games, but a proper clamp net is the better investment for regular technical training.
Tight enough to remain straight at the center, but not so tight that it pulls the posts inward. Check the 6-inch height after tensioning because increasing tension can raise the middle of the net.
Only if the clamp fits the table thickness and edge shape securely. Retractable nets have the widest flexibility, but a full-size 9 x 5-foot table is required for regulation practice.
The clamp may be loose, mounted on a rounded or obstructed edge, or incompatible with the table apron thickness. Clean the contact area and reseat the post before tightening.
A ruler works for occasional setup, but a net gauge is worthwhile for league players, coaches, and clubs that want repeatable regulation height every session. A useful next read on TTmode.com is 5 Top Table Tennis Nets for Home Players.
A correctly assembled net is small equipment with a major effect on the quality of every drill, serve practice, and match. Set it accurately, check it before serious play, and your table will be ready for the kind of precise work that improves the short game and rewards clean technique.